Notes on sculpting in Blender
Create a new mesh to work on, any mesh will do.
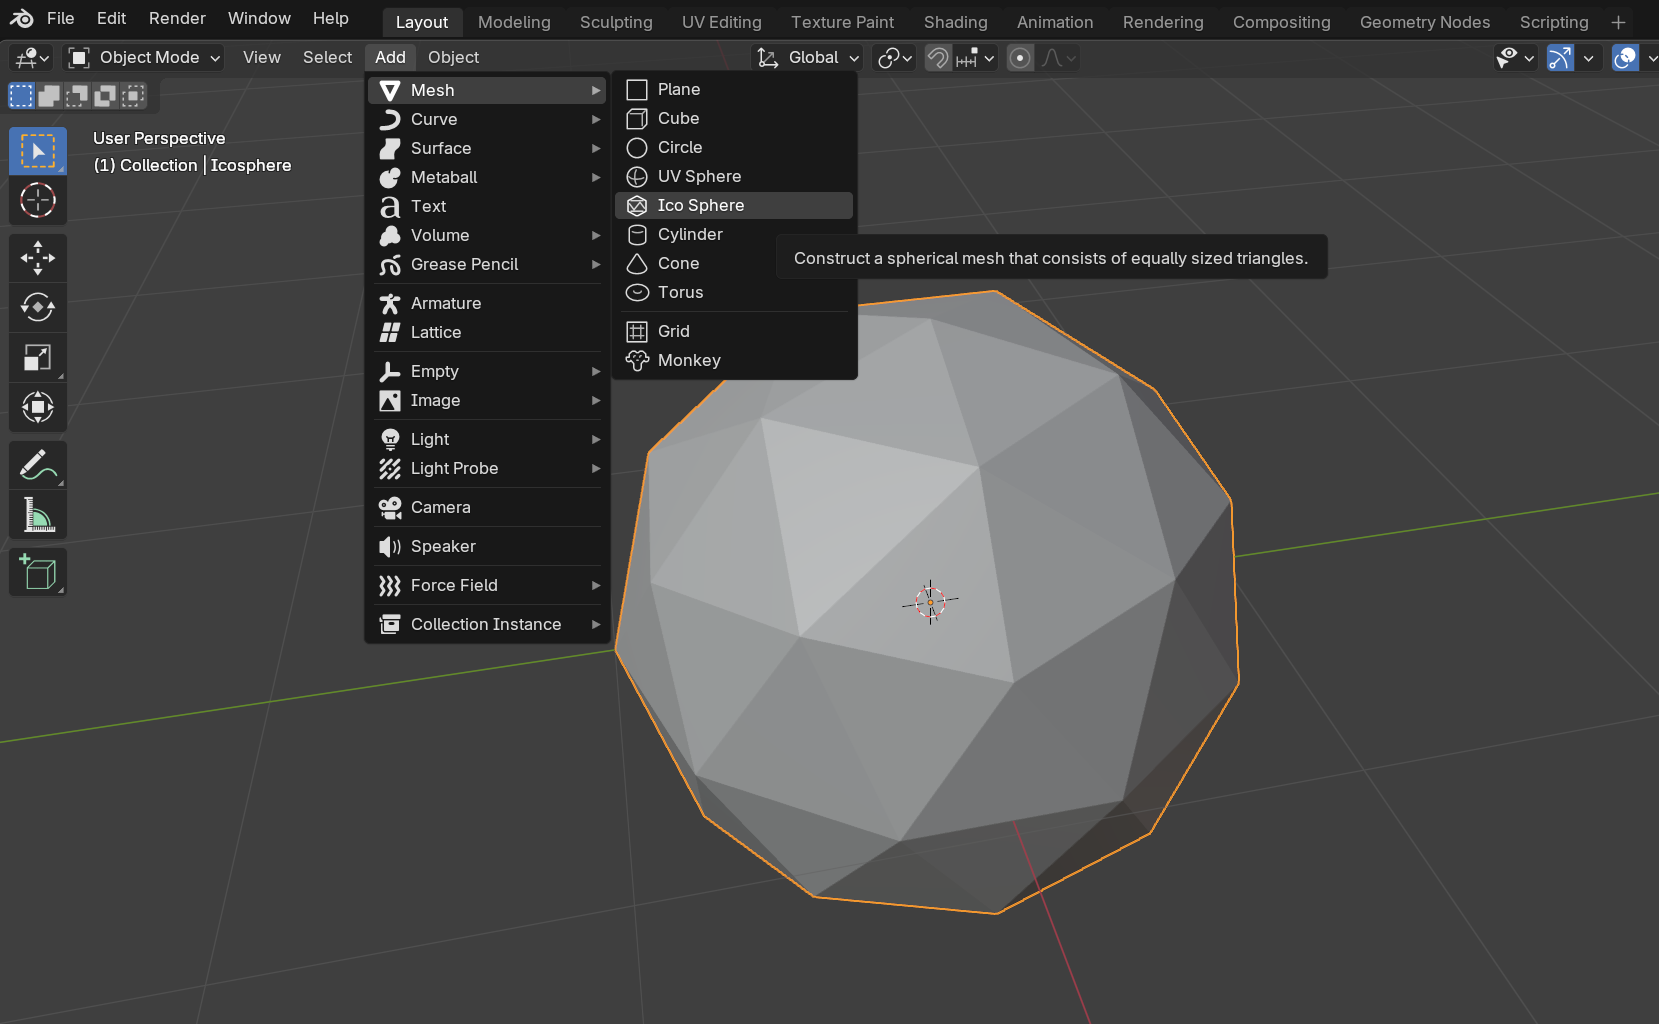
NB. How to make the perfect sphere in Blender (YouTube)
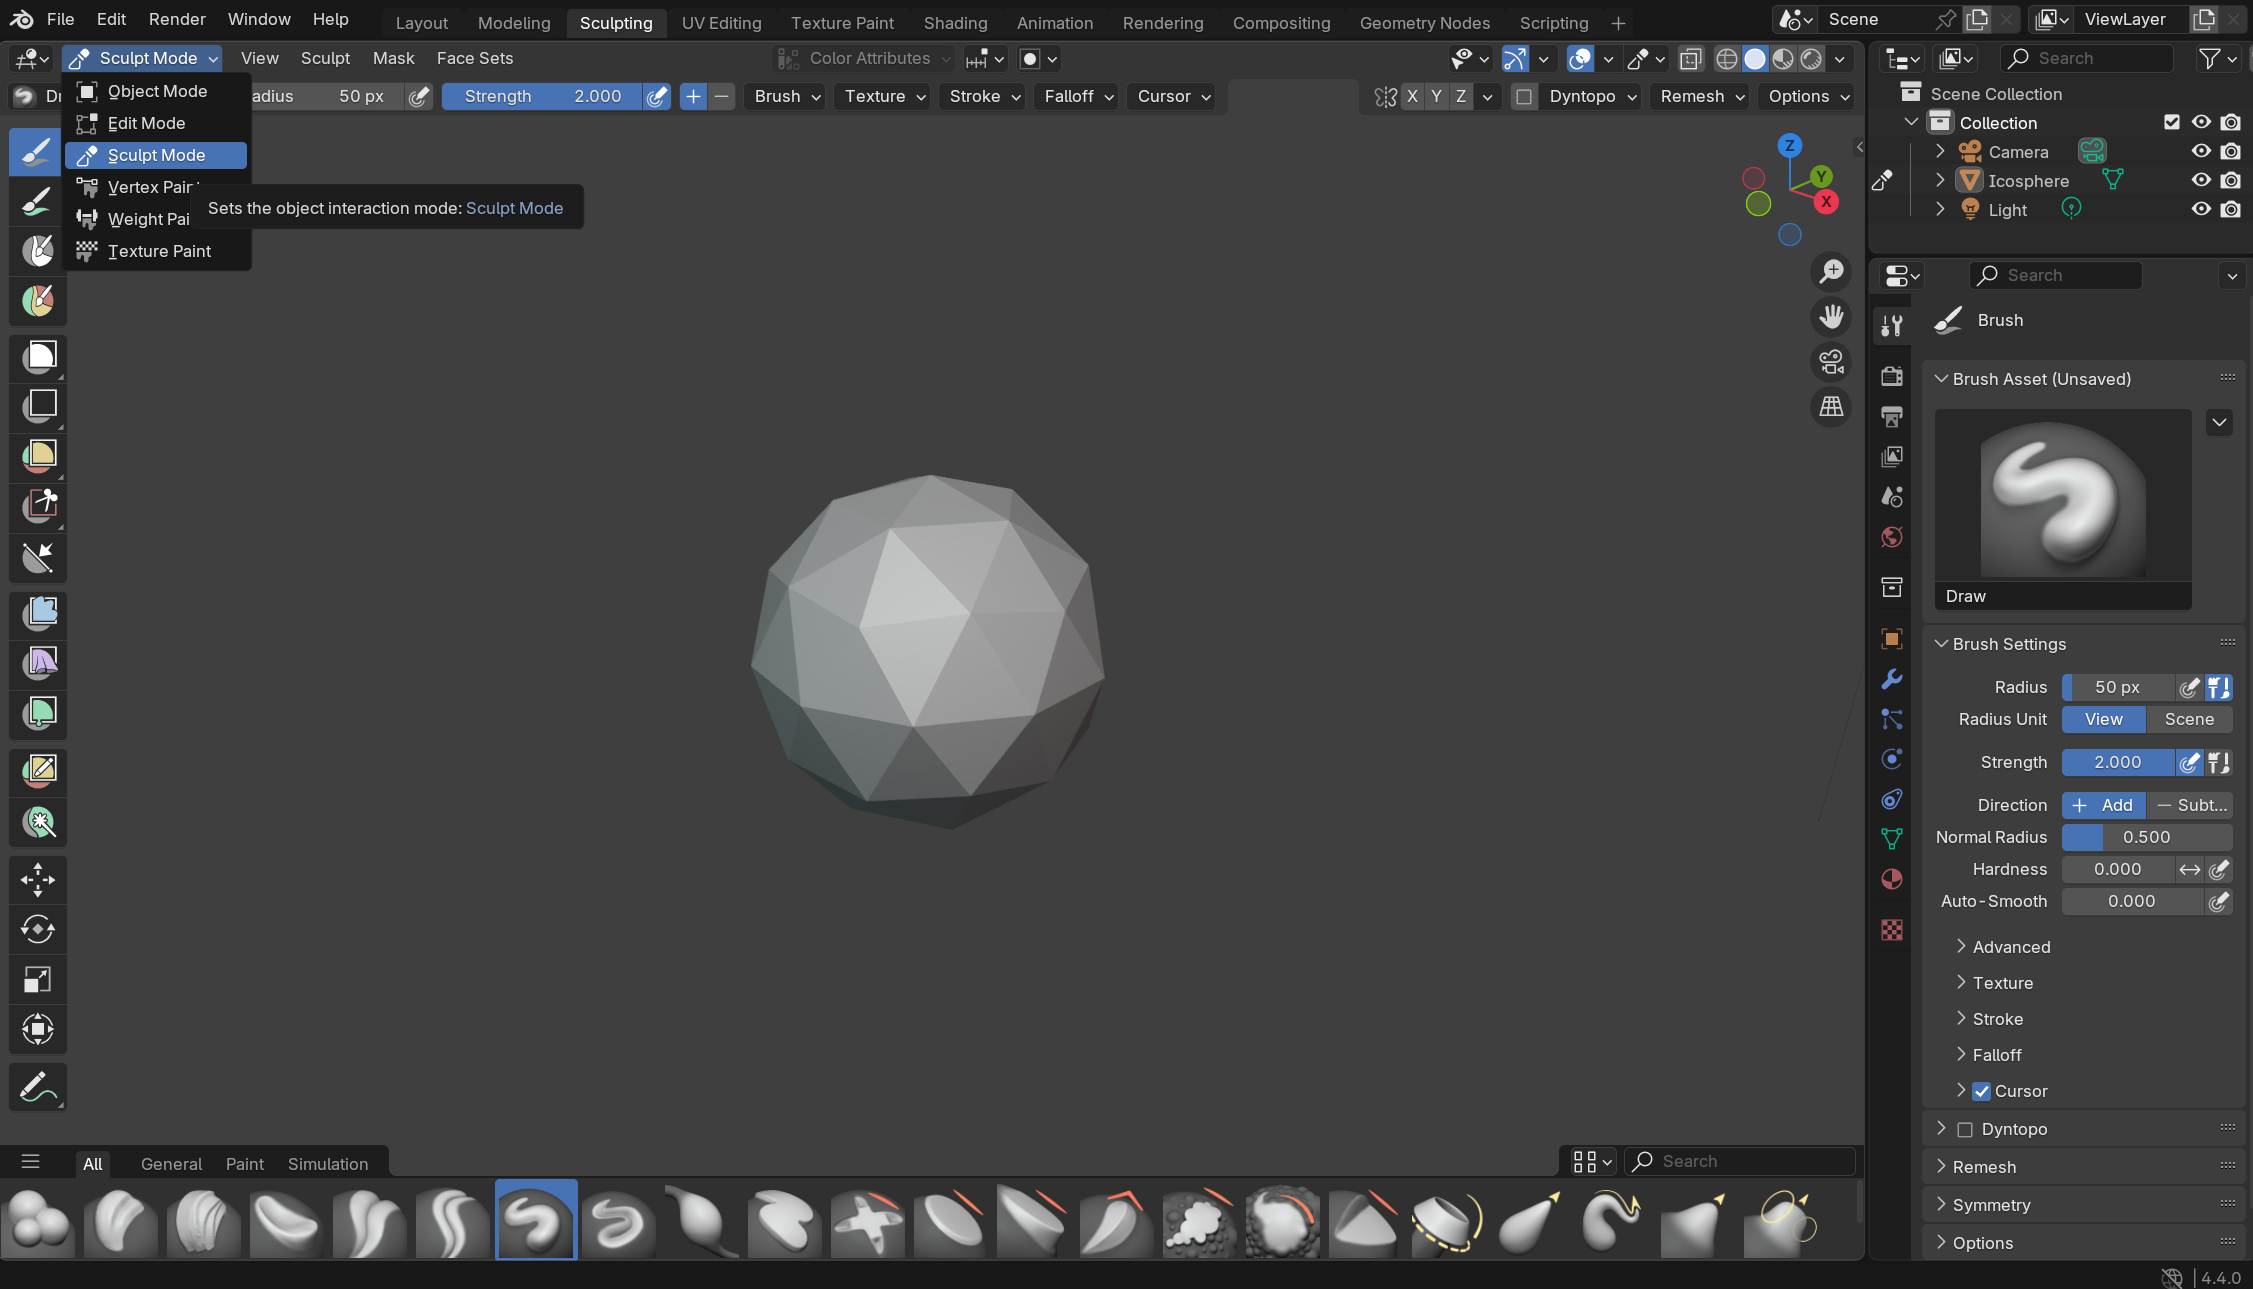
Switch to ‘Sculpt mode’ if you do not already have it selected:
Remesh your mesh by selecting R to control the grid size and then hitting CTRL + R to apply:
You should occassionally hit CTRL + R to remesh if you’re finding you have a lack of mesh faces in areas!
You can also enable
Dyntopoin the toolbar at the top, which will automatically remesh as you go, this may have buggy results in some cases but you might find it works fine for you!
You should now get a feel for what each brush does… (default brush is probably what you’re going to use the most, there’s a bunch of stuff for smoothing, etc, elastic grab is useful!)

You can negate brushes by selecting - Subtract in the top/right toolbars.
Control radius by using toolbar or pressing F:
Control strength by using toolbar or pressing SHIFT + F:
To do mirroring, selecting X-Y-Z in the top toolbar: